Muddy Boots CSA
  • Home
  • About Muddy Boots CSA
  • 2019 CSA
    • 2019 CSA
    • 2019 CSA Pricing
    • CSA Sign-Up Form
    • Frequently Asked Questions
  • CSA Member Area
    • Members FAQ
    • 2019 Member Orientation
    • CSA Hold Request Form
    • Pick-Up Reminder Services
    • CSA Feedback
    • Recipes and Tips
    • Weekly Share and Newsletter Archives 2016-2017
  • Blog
  • Contact Us
  • Join Our Maillist

Archive for Produce Tips

Do I need to wash Muddy Boots lettuce?

Posted by Robin McDermott on
 June 6, 2019
  ·  No Comments

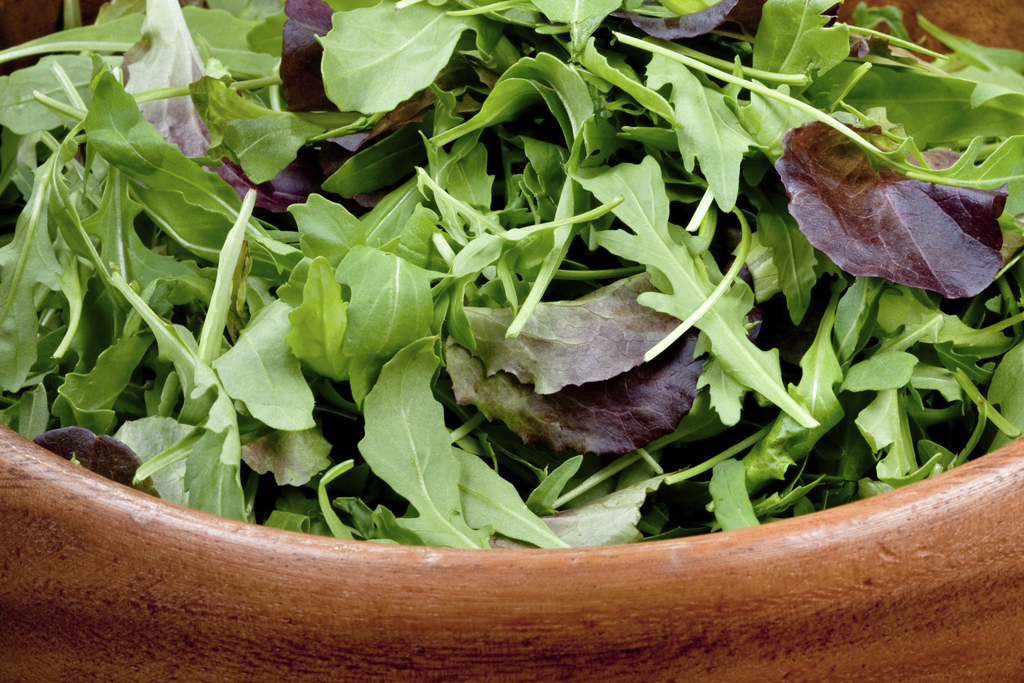
At a pick-up a few years ago, one of our members confessed to Aaron that she didn’t have time to wash her salad greens the previous week and that they seemed perfectly clean.  That is when we realized we hadn’t done a good job letting members know what is washed and what you will need to wash.

Read More

Produce Tips
Tags : Head Lettuce, Salad, Salad Greens, Storing Produce

Kingsbury Market Garden Salad Greens

Posted by Robin McDermott on
 March 8, 2019
  ·  No Comments

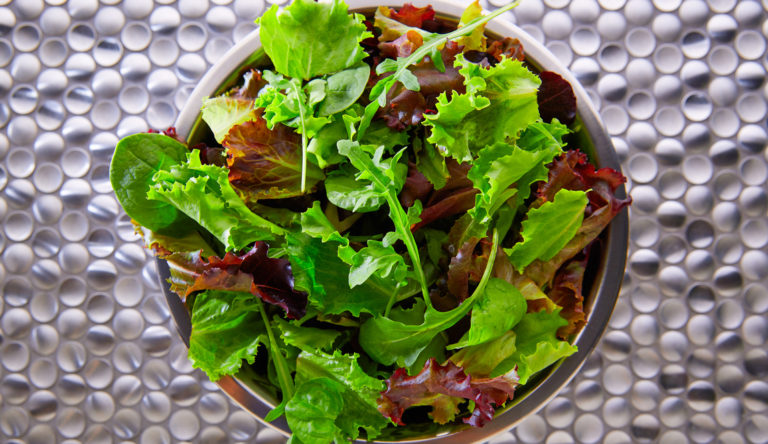
Aaron and Tonya are passionate about their organic salad greens; they are truly a labor of love.

Because the greens are harvested when they are young, the mesclun, kale, mustard greens and arugula need to be sown every two weeks throughout the season to assure availability for our CSA. If a heavy rain hits before the seeds have germinated and started rooting, the entire planting could be washed away. That is why sometimes you see the new plantings covered with a thin white fabric known as remay.  It helps protect the fragile plants from rain and sometimes hail that shreds even well established lettuce.

In this picture you can see that different greens are grown separately.  This enables us to provide members with a “salad bar” of lettuce leaves to chose from so each person can create their own mix depending on the flavors and textures they and their family prefer.

Before the greens get too big, they are harvested by hand with a mechanical cutter and then are immediately washed several times to remove the sand and soil that clings to the leaves.  Finally, they are dried in yes, a washing machine set on the spin cycle (don’t worry, the same machine is not used to wash clothes!). Drying the greens well is critical to their shelf-life!

We encourage our members to bring their own bags for the salad greens to cut down in the amount of plastic used for the CSA.  A zippered plastic bag works great and can easily be washed and used many times over.  Some of our members have found other bags made especially for storing vegetables that they swear keep the greens super fresh such as these from Debbie Meyer or these machine washable fabric bags or these organic cotton bags. TIP: Always store your greens with a folded sheet of paper towel.  It will help absorb moisture and keep the greens fresh longer.


Produce Tips

Short Term and Long Term Carrot Storage

Posted by Robin McDermott on
 October 30, 2017
  ·  No Comments

This is from Sweetwater Organic Farm a pioneer in the organic vegetable movement.  The farm is located in Tampa Florida!

Carrot roots should be firm, smooth, relatively straight and bright in color. The deeper the orange-color, the more beta-carotene is present in the carrot. Avoid carrots that are excessively cracked or forked as well as those that are limp or rubbery. In addition, if the carrots do not have their tops attached, look at the stem end and ensure that it is not darkly colored as this is also a sign of age. If the green tops are attached, they should be brightly colored, feathery and not wilted. Since the sugars are concentrated in the carrots’ core, generally those with larger diameters will have a larger core and therefore be sweeter.

Short-Term Storage

Carrots can be stored in the refrigerator for up to a month if stored properly. Cut off carrot greens, place carrots in a containers with lid and cover completely in water. Keep container in the refrigerator, changing the water ever 4-5 days. Do not store carrots next to ethylene gas producing fruits, such as apples and pears. The ethylene gas they release speeds up the ripening process of other fruits and vegetables.

If you purchase carrot roots with attached green tops, the tops should be cut off before storing in the refrigerator since they will cause the carrots to wilt prematurely as they pull moisture from the roots. While the tops can be stored in the refrigerator, kept moist by being wrapped in a damp paper, they should really be used soon after purchase since they are fragile and will quickly begin to wilt.

Long-Term Storage

Carrots can also be stored unwashed and covered by sand. If stored in this manner in a dark, cool, well ventilated area, the carrots will last up to 5 or 6 months. They can also be left in the ground, covered with mulch, and used as needed until the ground begins to freeze. Carrots can also be peeled, cut up, blanched, and then frozen to preserve them for approximately a year.

Produce Tips

Washing and Storing Rapini, Chard, Kale and Beet Greens

Posted by Robin McDermott on
 June 12, 2017
  ·  No Comments

Rapini, Chard and Kale can be cut and then washed in a large bowl of fresh cold water.  Make sure the bowl is large enough to swish the pieces so that they can release any sand or soil that might be clinging to the leaves.  Gently lift the greens out of the bowl so you don’t disturb any sand that has settled on the bottom of the bowl.  If you notice a lot of sand when you dump out the water, repeat the rinsing process.

Now comes the important part.  Dry the greens as best as you can.  If you have a salad spinner, use it, but even then, I suggest you get a baking sheet lined with paper towels and spread the greens out onto it.  If you don’t have a salad spinner, try putting the greens into a big salad bowl and gently tossing with a couple of paper towels to absorb the excess moisture.  Put the greens into a plastic bag and add a folded dry piece of paper towel – it will absorb excess moisture.

Remove beet greens from the beets and wash them the same way you wash the chard and kale.  Beet Greens are similar to Swiss Chard and can be sauteed with some garlic and olive oil for a great side veggie.  Or, chop them up and add them to soup.  I like browning some crumbled sausage, adding some hot pepper flakes and then adding in the beet greens.  Toss that with pasta and you have made a meal out of something many people twist off and throw away.

The beets can be stored in a zipped bag in your produce drawer, but leave the top partially open so they can breath.  These beets that we get early in the season are super sweet and tender – they are not intended to be stored although they can be.  The sooner you eat them, the better they will be!

Produce Tips

Freezing Strawberries

Posted by Robin McDermott on
 June 13, 2016
  ·  No Comments

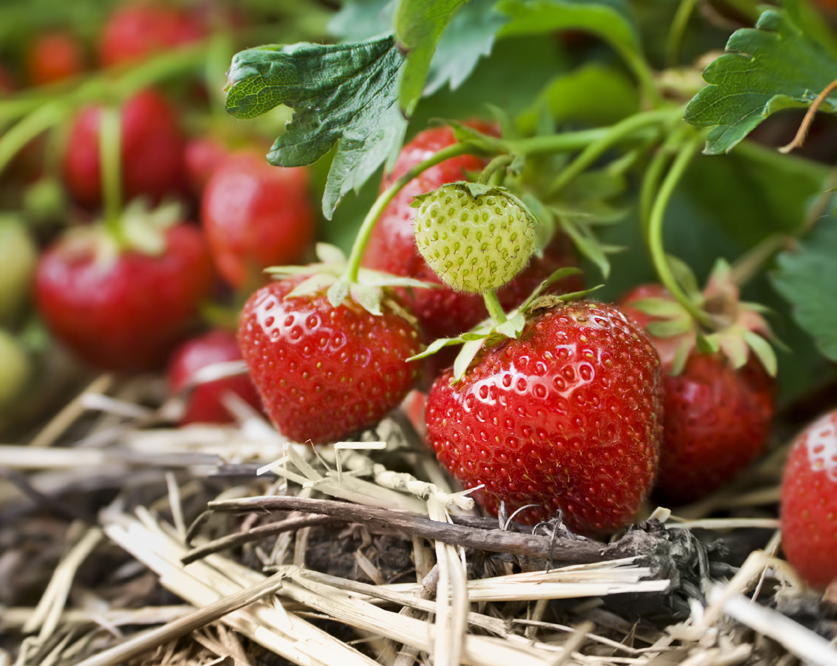
There is nothing better on a cold winter’s day than reaching into your freezer for some strawberries!  Let them defrost and serve them with yogurt or sliced on your cereal.  Bake a pound cake and serve with the berries and a dollop of whipped cream for a trip back to the summer.

Strawberries freeze really well!  Here is how to keep them at peak freshness in your freezer:

  1. Lightly rinse the berries in cold clean water.  This well rinse off any sand or straw.
  2. Hull the berries.  A tomato corer does a great job (much better than a strawberry huller!).  You do this after rinsing so that water doesn’t get lodged in the berry in the hole left after hulling.
  3. Dry well and set berries onto a baking sheet that will fit in your freezer.  Make sure they are not touching.  Put the sheet in the freezer.
  4. Once frozen, you can store the hard berries in a zippered plastic bag in the freezer or if you have a Foodsaver, this is a great time to use it.

Because you have individually frozen the berries, you will be able to easily remove the quantity you wish and put the rest back into the freezer.

Produce Tips

Storing Garlic

Posted by Robin McDermott on
 November 6, 2015
  ·  No Comments

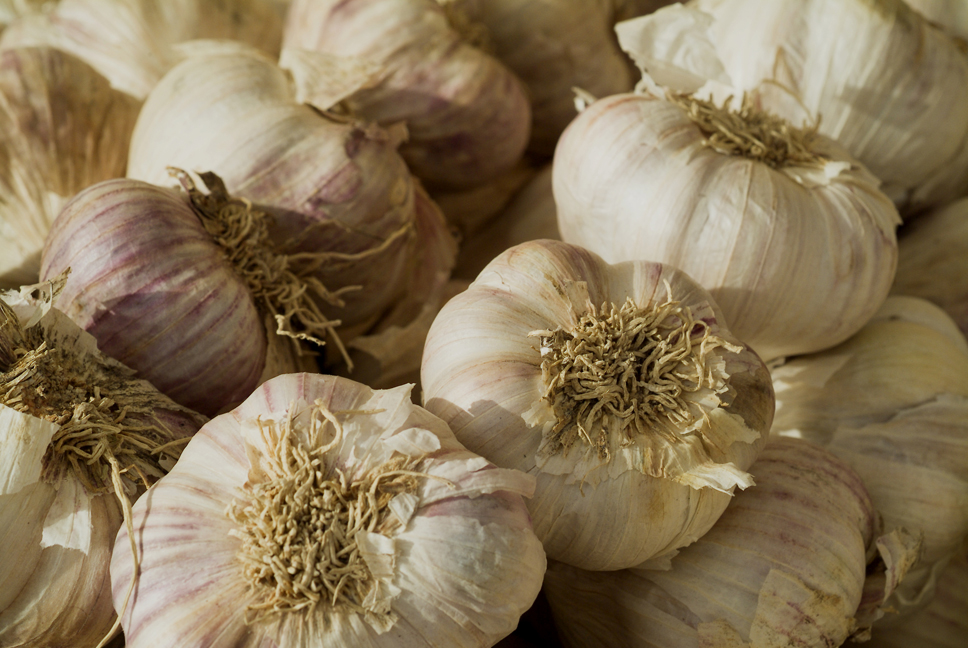
Properly stored garlic can easily last through the end of year holidays and beyond.  Commercial growers like Justin recommend storing garlic in the refrigerator in a closed paper bag.  But then, commercial growers have plenty of room for garlic in their big walk-in coolers.  If you have more garlic than can fit in your refrigerator, keep it in the same place as your onions…34 to 40 degrees and dark and dry.  Don’t put them in a plastic bag.  Garlic needs to breath and stay dry during storage. Read More

Produce Tips
Tags : Storing Produce

Storing Winter Squash and Sweet Potatoes

Posted by Robin McDermott on
 November 6, 2015
  ·  No Comments

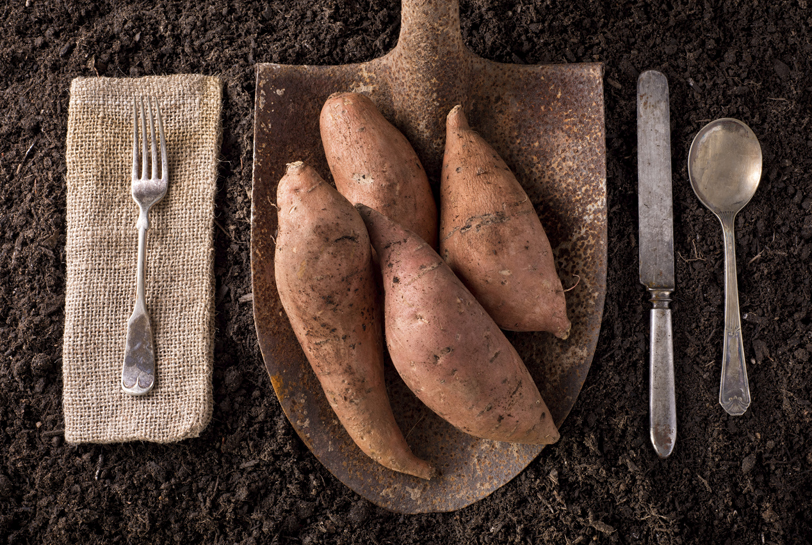
Winter squash and sweet potatoes will be perfectly happy spending the winter together in a cool room in your house – perhaps a room that you don’t use so you have the heat turned down.  They keep best at 55 to 60 degrees in a closed box or paper bag. Read More

Produce Tips
Tags : Justin, Storing Produce, Sweet Potatoes

Storing Onions

Posted by Robin McDermott on
 November 6, 2015
  ·  No Comments

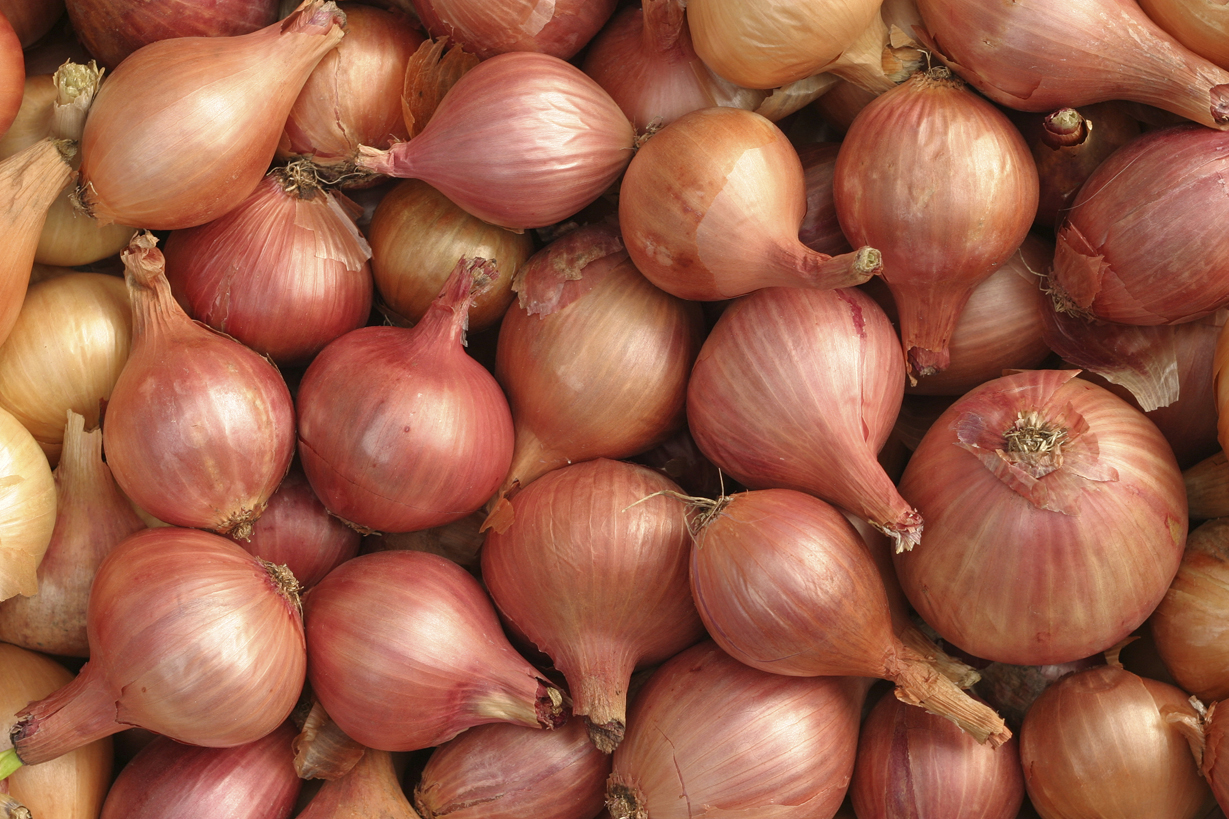
With the proper conditions, Storage Onions should last well into the late winter or early spring, if you don’t use them all before then.  A storage onion is a pungent onion…the type that makes you cry when you chop it up.  Sweet onions like Vidallias or Walla Walla are not good keepers and will last only a month or so after harvest under the best possible conditions. Read More

Produce Tips
Tags : Onions, Storing Produce

Putting Corn Up for the Winter

Posted by Robin McDermott on
 August 31, 2015
  ·  No Comments

Print
Freezing Corn and Making Corn Broth

Category: Produce Tips, Recipes

Servings: 10 cups of frozen corn and 2 quarts of corn broth

Freezing Corn and Making Corn Broth

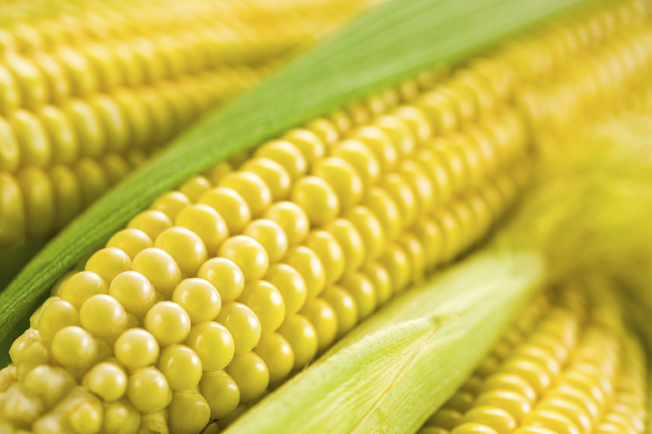
Corn freezes really well and there are lots of things you can do with it for winter meals.  Like most vegetables that you freeze, corn needs to be blanched prior to freezing to stop the enzymes that will continue breaking down the corn even in your freezer.

If you think of the corn cobs as the "bones" of the corn, you may think twice before throwing them into your compost after cutting off the kernels.  In the same way you would make a chicken stock, you can make a corn broth with those "bones" and then freeze it.  You now have the base for a wonderful Corn Chowder!

Ingredients

  • 1 Dozen Ears of Corn
  • Water

Instructions

  1. Fill a large pot with cold water. Bring the water to a boil. In the meantime, shuck a dozen ears of corn and prepare a large bowl of water with ice in it.
  2. When the water is boiling, keep the burner set on high, drop in the corn, return to a boil and boil for 2 minutes. Do in two batches if necessary. After the two minutes, remove the corn from the boiling water and plunge into the bowl of ice water. Keep the water that the corn has boiled in on the stove and turn the burner down to low.
  3. Once the corn cobs have cooled (about 2 minutes) remove from the ice water. Using a large bowl, hold the corn cob in the center of the bowl and with a sharp knife, cut off the kernels using downward strokes. Be careful not to cut too deeply or you will get the tough ends of the seeds.
  4. Once all of the corn has been cut off of the cobs, return the cobs to the hot pot of water on the stove and return the heat to high. Bring to a boil and then turn down to medium. Keep the corn cobs, uncovered, simmering for 2 to 3 hours. The water will reduce by about half.
  5. In the meantime, spread the corn out on a cookie sheet and put into the freezer. The corn should take a coupe of hours to freeze. Once frozen, prepare quart sized ziplock bags by labeling them with the date and "corn." Use a 2 cup measuring cup to portion the corn into the bags. Before sipping the bag closed, remove as much air as possible. To store in the freezer, lay flat stacked on one another.
  6. Meanwhile, back at the corn broth, after the water has reduced by about half, remove the cobs and let them cool. Using the same large bowl, place the cob in the center of the bowl and this time use the back of a butter knife to scrape the remaining bits of kernel out of the cobs. Mix this with the corn broth and blend or use a stick blender to puree and make a rich and thick corn broth. Allow the broth to cool completely and package in Quart sized ziplock bags that have been labeled with the date and "corn broth." Store flat in the freezer as the flat packages are easier to manage and store.
  7. One dozen corn yields about 8 to 10 cups of corn and 2 quarts of broth.
6.1.5
https://muddybootscsa.com/freezing-corn-and-making-corn-broth/
@2015 Muddy Boots CSA


Produce Tips Recipes
Tags : Corn, Freezing Tips, Storing Produce

Flavors of the Southwest

Posted by Robin McDermott on
 August 26, 2015
  ·  No Comments

This share could easily be something you might get in a CSA is Santa Fe New Mexico, so let’s go with the flow and honor southwestern cuisine this week!

Tomatillos

  Read More
2015 Week 12 Produce Tips Recipes Weekly Share News
Tags : 2015, Onions, share contents
Next Page →

Did you miss this week’s newsletter?  Are you searching for a recipe from a past week?  Here is where you can find these things and more.

Search the News

Categories

Recent News

  • Do I need to wash Muddy Boots lettuce?
  • What to do if you are not receiving Muddy Boots Newsletters
  • Kingsbury Market Garden Salad Greens
  • Jun – A type of Kombucha made with Green Tea and Honey
  • Short Term and Long Term Carrot Storage
  • Leeks
  • Washing and Storing Rapini, Chard, Kale and Beet Greens
  • Tips for CSA Members who also have home gardens
  • Swiss Chard
  • Wood’s Market Garden Farm Tour
Muddy Boots CSA | Copyright © 2019 All Rights Reserved